Showing posts with label Christmas cards. Show all posts

Monday, December 16, 2013

Kaisercraft Christmas Cards

Although I'm finished making Christmas cards, I thought I'd share a trio that I designed for the Winter issue of Canadian Scrapbooker Magazine:
I used the gorgeous St. Nicholas collection from Kaisercraft.  The wood elements and ribbons are also Kaisercraft.

This card is my favourite, but the fussy cutting was not my favourite!
Have you picked up the Winter 2013 issue of Canadian Scrapbooker yet?  There are many more Christmas cards and layouts in there to inspire you!

Friday, December 13, 2013

A Christmas Card Hop

I think I'm almost at the end of my Christmas card making, and this was a fun one! I designed this card for the Scrapbook Adhesives by 3L and May Arts Ribbon blog hop:
Today is the last day of the hop, but you can still enter to win some adhesives and ribbon prizes!

Click HERE to visit the Crafty Power blog and see a photo tutorial on how I designed the card.

You can also click HERE to visit the May Arts blog to find more wonderful projects from this past week.
Hop along and win a Christmas present for yourself!

Tuesday, December 3, 2013

A Christmas Card for a Teacher

I am definitely on a Christmas card roll and just hope I can get them into the mail on time.  I still haven't written my annual letter but have set a deadline for this week.  We'll see what happens!

Here is a card I designed using the new Brother ScanNCut machine. 
SUPPLIES: DCWV papers;Brother ScanNCut;May Arts twine;Scrapbook Adhesives by 3L;American Crafts Galaxy marker
This card is being featured on the Canadian Scrapbooker magazine blog today along with a video tutorial I made to demonstrate how I used the ScanNCut to design the chalkboard word art, cork tree and chalkboard star. 

Click HERE to visit the Canadian Scrapbooker blog and watch the video.

Click HERE to visit the ScanNCut website and watch more video tutorials.

Saturday, November 30, 2013

Put a Bow On It

I am getting into the Christmas spirit by making cards with wreaths on them.  I just love 3D elements on cards and like to create my own.  Here is a card I designed for Scrapbook Adhesives by 3L using the pretty "bow" designer shape from their new "3D Foam Christmas Mix" set.  
I have a tutorial on the Crafty Power blog where you can find out exactly how I designed this and the supplies I used.

Click HERE to visit the Crafty Power blog.

More Christmas projects to come!

Tuesday, November 26, 2013

Brother's New ScanNCut

It's always fun to have a new product or scrapbooking tool to play with, isn't it?

I have just started working with the new Brother ScanNCut Machine and have designed this Christmas card:
I used Core'dinations Colorcore card stock for the wreath and "Noel" and the card base with patterned papers are from Graphic 45's new Christmas Collection "Twelve Days of Christmas."

It is being featured on the Canadian Scrapbooker Magazine blog, with lots of step-by-step photos showing the ScanNCut and design details.

Click HERE to visit the Canadian Scrapbooker blog to see more.

Click HERE to visit Brother's ScanNCut website that has more information, plus video tutorials. 

Stay tuned for more ScanNCut projects!

Wednesday, November 20, 2013

A Little Bit of Christmas

Are you busy planning and making your Christmas cards?  To be honest, I only create a handful for a few special people and actually snail mail about 80 more store-bought ones with our family photo and annual Christmas letter.  Yes, I have a big family!

Here is one card I designed using some wonderful Sizzix products:
This is being featured on the Canadian Scrapbooker blog today, so for more details and some step-out photos of how it came together, click HERE and find out more.

Wednesday, November 13, 2013

A Winter Scene

I love being on the Scrapbook Adhesives by 3L Design Team.  I have the opportunity to work with a huge variety of manufacturers' product and, of course, the best adhesives around.  With the new release of 3D Foam Designer Shapes, I've been having fun creating projects and here is a card featuring three of the shapes:  a 3D Frame, Star and some Trees.
There are lots of ways to alter the foam shapes, and I used glitter and embossing powder.

There is a step-by-step photo tutorial on how I designed this card on the Crafty Power Blog, so click HERE to stop by there and check it out.

Scrapbook Adhesives by 3L also has a brand new website… it looks awesome! Click HERE to head over there. Thanks for stopping by.

Friday, December 21, 2012

A Merry Christmas to All!

This is my last blog post before Christmas.  I waited until today because I wasn't sure if the world was ending or not.  Looks like we're good to go!  I guess the Mayans weren't great at making calendars after all.
I thought I would share some Christmas projects I designed for Canadian Scrapbooker.

First up....here are 3 cards I created for the Winter issue 2012 using Bo Bunny's Mistletoe collection.
Love these bright cute papers!
I added Robin's Nest Dew Drops as ornaments on this tree.
Aside from some lace and pom pom ribbon, I didn't do much else except cut the papers.  Their adorable Christmas images are perfect for simple cards.

On December 11, I had a blog post over at Canadian Scrapbooker about a Christmas card I made with Stampin' Up! products.  

Here is the card....
The tree is made with folded doilies cut with a Stampin Up Sizzix die.
Click HERE to visit the Canadian Scrapbooker blog post with the details and photos of  how I made my card.

Right now there is a HUGE contest over at Canadian Scrapbooker called "12 Days of Giving".  Every day you can enter to win a prize package from a different sponsor!  Click HERE to check it out.

I designed two Christmas projects for this contest, using Fancy Pants "Home for Christmas" and My Little Shoebox "Winter Wonderland".

I made Christmas crackers with the Fancy Pants papers for Day 3 of the contest....

They are super simple to make....

Cut an empty paper towel roll in half.  Measure and cut your patterned paper to fit around it.

Put SookWang double sided adhesive tape (1/4") at top and bottom edges of the paper.  Put a second strip of adhesive tape under the top strip (this will hold the tissue paper in place).
Remove the backing from the second piece of tape along the top.Cut a wider piece of tissue paper that extends about 4 inches past each side of the paper/roll.

 Centre the tissue paper edge on that exposed adhesive strip.

Now remove the remaining top and bottom adhesive strips and wrap paper with tissue around your empty roll.


Almost done....just tie one end with twine, fill with prizes and goodies, tie the other end and decorate the top!

For my second project on Day 4 of 12 Days of Giving, I designed an Advent Garland using My Little Shoebox "Winter Wonderland" collection. 
I bought the pretty iridescent silver garland at Canadian Tire, and I found the clothespins in Hobby Lobby in the States.
Each pocket is basically a rectangular piece of patterned paper, folded in two places for the body and the top envelope part. 


One of the pieces of MLS papers had all of the numbers 1 - 25, which I cut out and adhered to the front of the pocket envelopes.  I added stickers from their sticker sheet to decorate them a bit more.

On the back side of the pocket envelopes, I put small doilies (cut with the same Stampin' Up doily die I used for the tree "Joy" card).  In the centre of each doily I put an alphabet letter sticker, so the entire banner in reverse spells "Have a Merry Christmas!"
In the pockets I put chocolate gold coins....but I think my teenagers would prefer the real thing! 

It's not too late to win a prize package over at Canadian Scrapbooker!  Stop by there and check out all the fabulous projects made by the rest of the Design Team using all of the papers and products from contest sponsors!  Click HERE and enter to win yourself a Christmas present.

I'd like to wish all of you a very Merry Christmas! May you be blessed with a peaceful and joyous holiday season :)

Wednesday, November 28, 2012

Graphic 45 Nutcracker Sweet Christmas Cards

I don't design very many card classes, but last year when I began teaching at The Urban Scrapbook, my first class was Christmas cards, using Graphic 45's "Christmas Emporium" collection.  Click HERE to see the blog post about those cards.

Before their 2012 collections were released, I already knew there was a good chance I would be working on G45 cards again this time of year.  When I saw "Nutcracker Sweet" I swooned.  Those lovely ballerinas.....so elegant and beautiful!

Well, the whole ballet theme took hold in my brain and I came up with 5 cards, 4 of them featuring ballerinas!
Here are some close-ups and details about each card...

"The Nutcracker" 
Yeah, he looks a little too serious to be nestled in white and pink chiffon. ha ha!


The base of this card is Tim Holtz Black Kraft Core Coredinations, which I embossed with the Sizzix wood grain embossing folder. I also embossed the green polka dot piece for the card's interior with the Christmas words folder.

Using my craft knife and ruler, I cut a window into the front of the card.
I adhered the embossed green paper inside.

I cut out the Nutcracker and adhered him inside so his head would appear in the window.

Using this Martha Stewart branch punch, I created some greenery below the window.


I coloured seam binding with Fired Brick Distress Stain, crumpled and let dry.  Then tied a bow and adhered with liquid glue.

 "Winter Wonderland"


The background is Bazzill "Pansy" purple card stock stamped with snowflakes, then glittered with "Lavender" glitter using Ranger's new Sticky Embossing powder.

This is the first time I used this Sticky Embossing powder and it's awesome!  But you  have to work fast because it cools quickly and then loses its stickiness.
I cut this American Crafts glitter paper to look like snowy hills.

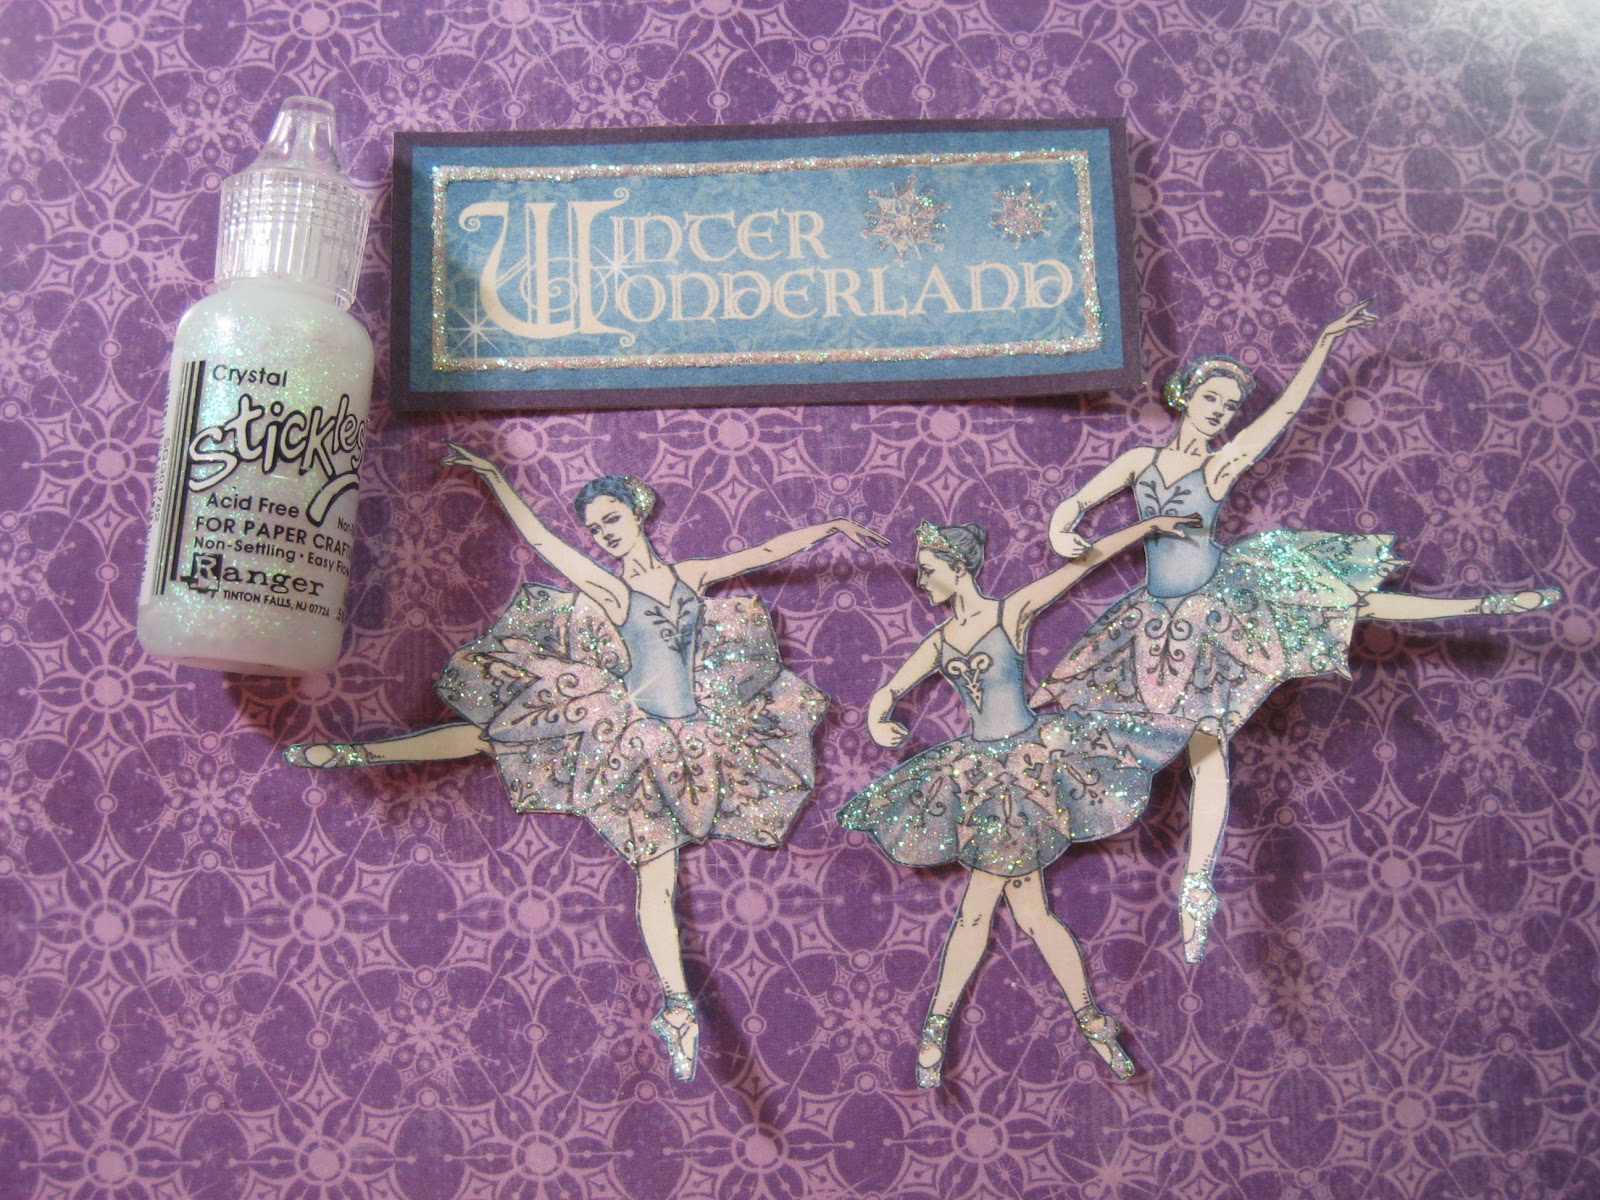
Diamond Stickles came in handy for adding sparkle to the blue ballerinas...
I also added stickles to the Winter Wonderland tag

These dancers are popped up onto foam squares.
Yes, I know this card does not reflect reality and our ballerinas here in Canada do not dance in the snow like this! [But I do wish our snowflakes were purple!]

"Sugar Plum Fairy"

I cut the mini music sheets from the "Enchanted Journey" patterned paper.
The edges are sparkling with chunky clear glitter
 Here is how I created those glittery edges...

Add Glossy Accents or other clear drying adhesive along the edges of the mini music sheets.
Pour chunky glitter over the wet Glossy Accents.  Let dry for about half an hour.

I fussy cut the Sugar Plum Fairy and adhered her with foam squares, then added Clear Diamond Stickles to her wings and shoes.
Pink tulle is threaded through 2 punched holes in the bottom corners and tied in a bow.
 
"Clara and the Mouse King"

All images are cut from the "Holiday Magic" patterned paper.

To make the little vintage storybook, I cut apart the small book pages from the "Enchanted Journey" paper, misted them with water, crumpled, uncrumpled and then let dry. 

[Why oh why does Blogger insist on rotating my photos???]
After inking the edges with brown chalk ink, I layered the mini book pages using Sookwang adhesive tape.
 The top pages of this book are actually cut out together as one piece, then folded in the centre so it appears to look more like a book. 
I punched lacy borders along the bottom with a Martha Stewart edge punch.
I also misted Clara and the mini book with Perfect Pearls "Biscotti" spray to give them a pretty glimmer.

"The Blue Ballerina"

I used a scalloped edge punch around a piece of glitter card stock, then attached tulle to it before adhering the blue ballerina.   
The doily in the background is also misted with Biscotti Perfect Pearls spray. Plus, I added clear Stickles to her headband, skirt and shoes.  

Actually, this blue ballerina card could also serve as a birthday card for a little girl (or a big girl!)

 So tell me, which card is your favourite? I'm having a hard time picking mine! 

Hope you enjoyed looking at my Graphic 45 Christmas cards....I really enjoyed designing them :)