Showing posts with label mixed media. Show all posts

Thursday, January 23, 2014

This Year...

I always become reflective when a year ends and a new year begins.  I've come to a few realizations and thought I'd share them today.  In fact, I will be sharing more of myself on my blog than I usually do.  I love to write, so I plan on expressing a little more "me" in my words. Hopefully, we'll have a few laughs along the way!

So, this year...

I will make more time to play and experiment.
My first art journal page of the year.
I will relax and do something creative every day.
Graphic 45 Alpha stamp set; Golden acrylic paints; Faber-Castell Gelatos

I will step outside of my box and leave my comfort zone.
Stamps: Prima; LaBlanche
I will scrapbook the heritage and vintage photos that I hold so dear and share the stories.
Staz-On ink and Tim Holtz Stampers Anonymous
I will push the boundaries of my artistic abilities.
Prima stamps and Golden Molding Paste
I will work on my novel every day and finish it.  (fingers crossed. lol) This has been one of my resolutions/goals every year for the past 10 years.
I will nurture my friendships.
and be open to new ones.

I will slow down and breathe.
Hermosa Beach, L.A. California January 2014
I will let my kids see that I can have fun too….and really really try to worry less about them.

I will strive for excellence and joy in my scrapbooking pursuits.
Hermosa Beach L.A., California (Jan 2014)
LOVE being a part of the Canadian Scrapbooker Magazine team! (Anaheim)
LOVE designing for Scrapbook Adhesives by 3L!
I will have more date nights with my guy.
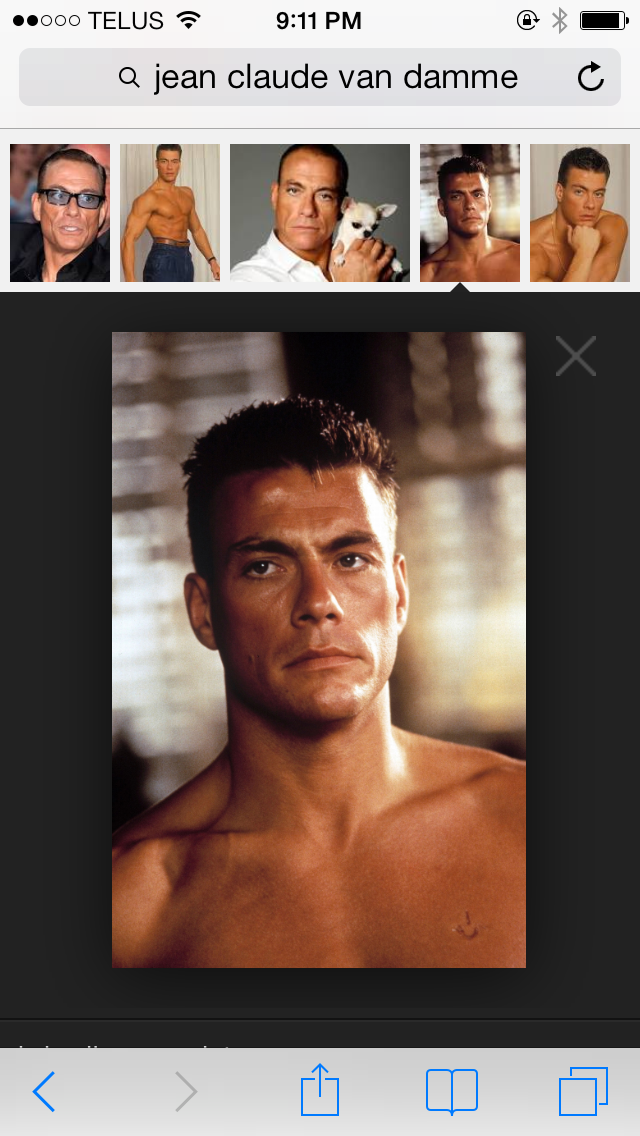
Oops. Wrong guy.
I will feel less guilty…about everything.  (What can I say? I was raised Catholic! LOL)
Now I'm looking forward to the great adventure called 2014! I hope you are too :)


Thursday, May 9, 2013

May Sketchy Challenge

I decided to use the Canadian Scrapbooker May Sketchy challenge to design the June "Place in Time" Graphic 45 layout for my Mother's vintage album.

I know...a little out of order.  Today I'm sharing the April and June layouts, but the May page is coming later.

Here is Sue Syke's wonderful sketch...
I created a double layout by flipping the sketch for the right page....
I just love these photos from my mom's cousin's wedding. They are held in place with white photo corners from Scrapbook Adhesives by 3L.

Here are some close-ups...

Isn't that pearl centre on this flower gorgeous? It is a vintage clip-on earring from my mother, but I cut the backing off.
I used a Prima stencil and Golden Molding Paste with Glitter
I made a video showing details of this June layout and a tutorial with this mixed media technique.  Click HERE to watch this video on YouTube.

Here is my belated April layout...
These are pics of my  mom and her roommate visiting their friends on Easter who had young children.  If you look closely, you can see the kids holding Easter baskets.

The bling flourishes and butterflies are Prima (left over from my ScrapThat! May kit).

The chipboard fence is Twiddleybitz
The windows are cut from a piece of scrap white cardboard, and the bunny is cut from Glitter paper. The white stitching is "faux"...made with a white pen and paper piercer.  Sneaky! 

Luckily, my mom doesn't use a computer or follow my blog...otherwise the secret would be out on this album.  I love seeing how it's coming together, and I hope you do too!

I also hope you join in the Sketchy Challenge over at Canadian Scrapbooker....click HERE to visit their online forum.

Tuesday, August 7, 2012

A Very Special Kiss


The lovely "Palm Beach" collection from Webster's Pages was in our staff challenge August kit at The Urban Scrapbook.

This pretty pastel colour palette could be used for a number of themes...summer, beach, ocean, travel, tropical....and so on.

I chose to scrapbook a photo of BabyOfTheFamily and her first kiss....with a dolphin :)
The background base is actually cream cardstock that I inked with Peacock Feathers Distress Ink (new Spring Limited Edition ink), and I wavy cut the bottom edge...
 The second background layer is blue Bazzill cardstock, which I altered "mixed media" style with a Crafter's Workshop Stencil and some Gesso (by Claudine Hellmuth/Ranger).
I used the centre hexagon shaped part of the stencil along the edges of the background and applied the gesso with a paint brush.
Even my bathroom counter was altered with this hexagon stencil when I set it down to dry. 
HINT:  Wash off gesso carefully immediately after use.


I cut these banners from the WP chevron patterned paper and edged with Peacock Distress ink, then curled into wavy shapes using a pencil.

The Distress Ink also helped me alter this WP pink ribbon...
A quick and easy colour change with ink.
I used more ink, white paint and Clear Rock Candy Stickles to transform the chipboard fish...
The fish were cut from an Accucut die at The Urban Scrapbook.  They have a huge assortment of dies for customers to use!


The waves are cut freehand, edged with ink then curled slightly for dimension.
This border is painted with Patina, which is an opaque ink that colours metal and non-porous elements. 
 I wanted some of the gold gems to show through so I rubbed off some Patina before it was dry.
A fine-tipped paint brush helped me colour the WP gem border sticker with Ranger Patina "Verdigris"
The umbrella is fussy cut from one of the Webster's papers.
The first part of the title is stamped onto white Bazzill cardstock with Graphic45's Typewriter Alphabet stamp set...
 

The word "kiss" is created with DIY American Craft Thickers..
These Thickers have an adhesive top, which you can peel off and then add whatever you like to alter them....
 I added Craft & Glitz Glitter....
First I cut apart the letters I wanted to glitter.
Next, I removed the top adhesive backing and poured on the glitter.
After rubbing the glitter into the adhesive tops of the letters, I brushed them off completely.
....And then stuck these gorgeous glittery letters onto my page!
 I think I will invent a Glitter Vacuum...to deal with the aftermath of microfine glitter sparkling EVERYWHERE in my studio :)

The clean-up is the worst part, isn't it?  

The Urban Design Team created so many fantastic layouts with this kit.  Click HERE to visit their blog and see everyone's beautiful work!  

And drop by the store to pick up  your own August kit that is filled with summery goodness :)


Thursday, August 2, 2012

Making Time for an Art Journal

Lately, mixed media has become a hot trend in the scrapbooking world.  Ironically, most layouts are actually mixed media projects because our pages are collages of papers, and collage is one form of mixed media art.


I think the big boom in stencils, masks and sprays has helped generate pages that use more mediums, like gesso, paint, molding/modeling paste and so on.  This has also led to an escalating interest in Art Journals, a freestyle expression of creativity and playfulness using mixed media.  


Just Google Art Journals and mixed media and you'll discover an exciting artistic world!  A friend of mine, Limor Webber, creates wonderful art journal pages and mixed media scrapbook layouts on YouTube and also has a Facebook Mixed Media group, where everyone shares their projects.  


Another amazing art journaling phenom is Christy Riopel, who designs for Canadian Scrapbooker magazine.  Click HERE to visit her blog and see an awesome video of her artistic creations.


In the summer issue of Canadian Scrapbooker, Karen Ellis has a fantastic article on how to make your own art journals.  Here is a sample of her work on the magazine's blog post last month for "Tuesday with the Team", and you can click HERE to visit Karen's website and see the art journal tutorial.


Lots of inspiration online!


I thought I'd share one of my recent art journal pages....basically using just a bunch of "stuff" that was on my desk at the time...
The base of the page is Tim Holtz Tissue Wrap pieces and scrap notebook paper adhered with Ranger's Glue N Seal (similar to Mod Podge). I've shown this technique HERE to create a sun on a scrapbook page on a blog post from last month. 
The sun is a collage of tissue wrap strips, then inked with different shades of yellow Distress Ink
The brown leaves were just lying on my desk, extras left over from another project....and they were cut with my Cricut from brown patterned paper.  The clock is a Tim Holtz Sizzix die cut and the text "68 pages of freedom" was cut right from the front page cover of this blank art journal.  
Clearsnap Smooch is a great way to add some metallic colour....I coloured the text piece and hand with gold and dark teal.


I wrote the title and text below with Faber-Castell Pitt pens....they are awesome India ink pens that write on pretty much everything!
I picked up this package at Michaels that has a variety of nib sizes.
I grabbed a few different types of paint and some Clearsnap Smooch (painted the Wendy Vecchi Art Parts chipboard hand with Smooch)...
My page in progress...


Keep in mind that playing with mixed media usually involves messy hands...
I have a good set of brushes, but sometimes I'll use a cheap children's plastic brush.
If you haven't ventured into the world of Art Journaling, I suggest you give it a try.  It's so much fun to experiment with colours, new techniques and let the artist inside explore freely. You have all the supplies to use on hand if you scrapbook, aside from the mat medium (Mod Podge) maybe. 


Click HERE to see the journal I purchased at a local art store, but I believe Michaels carries them:  Strathmore Visual Art Mixed Media Journal
The paper is 90 lb medium weight to handle the wet mediums you might use.  


What really excites me about mixed media is that I am adding a dimension of originality to my projects.  The results are uniquely mine, and I experience a sense of artistic and creative freedom that is fulfilling and liberating!


Be Yourself...and start an Art Journal!